
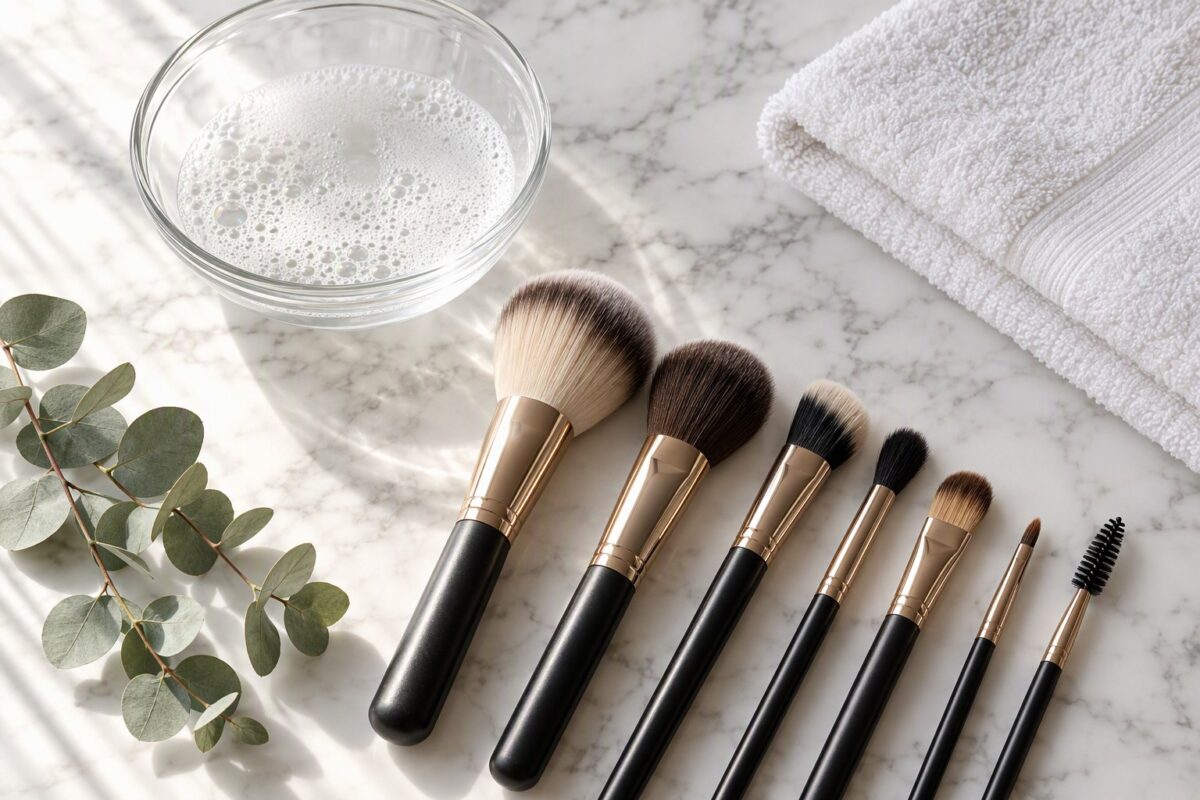
You probably already know you should clean your makeup brushes. Most people know, and most people still do not do it often enough. The result is the same recurring cycle: a brush that was once soft and precise becomes stiff, streaky, and frustrating, and your skin pays the price in breakouts you cannot trace to any single product.
This guide covers why brush hygiene matters, how often to clean, what to use, and the technique that actually preserves the bristles rather than wrecking them.
Why dirty brushes are a bigger problem than you think
Every time a brush touches your face, it picks up sebum, dead skin cells, leftover moisturiser, and whatever product was already on the bristles from yesterday. That mixture sits in a warm, dark, slightly damp environment between the bristles, which is close to ideal for bacterial growth.
The consequences are not theoretical:
- Breakouts along the jawline and cheeks, often misdiagnosed as a reaction to a new foundation when the real cause is the brush applying it.
- Patchy, streaky application because old product built up in the bristles prevents smooth pickup and blending.
- Shorter brush life because dried product stiffens the hairs and causes shedding.
- Cross-contamination when you use the same brush for multiple products, muddying shades and transferring bacteria between areas of the face.
If your foundation looks less smooth than it used to, and the product itself has not changed, the brush is the first thing to check.
How often should you actually clean?
The honest answer depends on what the brush does and how often you use it.
- Liquid and cream products (foundation, concealer, cream blush): every one to two uses, or at least twice a week. These products trap moisture and feed bacterial growth faster than powders.
- Powder products (blush, bronzer, eyeshadow): every one to two weeks for brushes used on the same shade. Brushes used for different colours should be wiped between uses to prevent muddying.
- Eye brushes used on multiple people: every single use, no exceptions.
- Tools that touch mucous membranes (lip brushes, eyeliner brushes): after every use.
A reasonable rhythm for a personal collection: a quick wipe after each use, and a proper deep clean on weekends. That alone will improve your skin and your makeup application within a week.
What to use: you do not need a specialist product
Brush cleaners marketed specifically for makeup brushes work, but they are not necessary. What matters is a formula that breaks down oils and pigments without stripping the bristles.
Good options:
- Baby shampoo or a gentle, pH-balanced cleanser. Inexpensive, widely available, and gentle on both natural and synthetic hairs.
- Olive oil and dish soap, 1:2 ratio. The oil conditions natural bristles while the soap cleans. This is a well-established method among makeup artists.
- Solid brush balms. Convenient and effective, especially for dense brushes. Squeeze out old product against a textured surface.
- Isopropyl alcohol (70%) for sanitising, not for cleaning product buildup. Spray it on after washing, or use it for a quick disinfect between clients.
Avoid bar soap, which leaves a film, and avoid anything labelled “antibacterial” with triclosan, which is harsh on bristles and unnecessary for this purpose.
The washing technique that preserves your brushes
Most brush damage happens during cleaning, not during use. The most common mistake is soaking the entire brush, handle included, which lets water seep into the ferrule, the metal band that holds the hairs to the handle. That loosens the glue and causes shedding.
Step by step:
- Run the brush head under lukewarm running water. Hold the brush downward, at an angle, so water flows away from the ferrule, not into it. Never submerge the full brush.
- Apply your cleanser. For baby shampoo, a pea-sized amount. For a solid balm, swirl the bristles directly onto the surface.
- Work the bristles gently in the palm of your hand. Use circular motions. For dense brushes, use a textured silicone mat or a clean washing-up sponge to reach into the core. You will see old product flow out as grey or tinted foam.
- Rinse under running water, still angled downward, until the water runs completely clear. If you can still see colour, wash again.
- Squeeze out excess water gently. Press the bristles between a clean towel. Do not twist or wring.
- Reshape the bristles. Press them back into their natural form, whether flat, round, or angled.
- Lay flat to dry. Place the brush on the edge of a counter so the bristles extend past the surface, allowing air to circulate. A brush guard, a thin mesh sleeve, can help dense brushes keep their shape.
Drying time: 6 to 12 hours depending on density and room humidity. Never use a hair dryer, which overheats the glue and warps synthetic bristles.
Quick clean versus deep clean
You do not need to do a full wash after every use. A two-tier system works for most people.
Quick clean (daily, after use)
- Spray the bristles with a brush cleaner spray or 70% isopropyl alcohol.
- Swirl the brush on a clean tissue or paper towel until no product transfers.
- This does not remove deep buildup, but it kills surface bacteria and stops colour mixing.
Deep clean (weekly for liquid brushes, biweekly for powder brushes)
- Follow the full washing technique above.
- This is what actually preserves the bristles and keeps your skin clear.
If you only ever do quick cleans, old product will accumulate in the core of the brush no matter how much alcohol you spray on the surface. Quick cleans extend the interval, but deep cleans are what do the real work.
How to dry brushes without ruining them
- Always dry horizontally or angled slightly downward. Drying upright lets water flow into the ferrule by gravity, which is exactly what you avoided during washing.
- Do not stand brushes upright in a cup to dry. This is the most common cause of ferrule corrosion and shedding.
- Do not dry on a radiator or in direct sun. Heat degrades the glue and the bristles.
- Use a brush tree or a rolled towel. If you want to dry angled downward, roll a towel and rest the handles on the roll with the brush heads extending over the edge of the counter.
- For dense, large powder brushes, allow at least 12 hours. Damp brushes feel fine but still carry bacteria.
Signs it is time to replace a brush
Even with perfect care, brushes do not last forever. Look for these signs:
- Shedding that exceeds a few hairs per month. A small amount is normal; clumps falling out are not.
- Bristles that no longer return to shape after washing and reshaping. This means the hairs have lost their structure.
- A ferrule that wobbles or clicks when pressed. The glue is failing.
- A persistent smell that does not resolve after a deep clean. This indicates embedded mould or bacteria.
- Visible rust on the ferrule.
A well-maintained brush lasts three to five years for natural hair and five to seven for synthetic. Poorly maintained ones may need replacing within a year.
Natural versus synthetic bristles: care differences
The care routine is largely the same, but the details matter.
- Natural hair (squirrel, goat, pony): more porous, benefits from conditioning. The olive-oil-and-soap method is ideal. Avoid high-alcohol sprays for quick cleans, as they dry out the hairs and cause brittleness.
- Synthetic hair (Taklon, nylon): less porous, does not absorb product, and is more resilient to alcohol and frequent washing. They are the better choice for liquid and cream products.
- Blend brushes (natural-synthetic mix): treat as natural to be safe.
If you use the same set of brushes across powder and liquid products, synthetic is the more hygienic option because it does not absorb sebum and is easier to sanitise.
Frequently asked questions
Can I use shampoo to clean my brushes? Yes, a gentle baby shampoo is the most recommended option. Avoid clarifying shampoos, which strip oils and dry out natural bristles.
How do I clean a beauty blender or sponge? Wet thoroughly, massage in liquid soap or a solid balm, rinse and squeeze until clear. Sponges should be cleaned after every use and replaced every three months because they are nearly impossible to fully sanitise once product is embedded.
Why do my brushes smell even after washing? They are probably not fully dry before storing. A damp brush in a closed container will develop bacteria and odour. Ensure 12 hours of drying time before putting brushes away.
Is it worth buying a brush cleaning mat? They help for dense foundation and powder brushes, but a clean silicone baking mat or a textured sponge works just as well.
Can I share brushes? Only if you sanitise fully between users. For anyone outside your household, use disposable applicators or personal brushes only.
Final thoughts
Brush cleaning is one of the highest-leverage habits in beauty. It costs nothing beyond a bottle of baby shampoo and a few minutes a week, yet it immediately improves how your makeup applies and how your skin behaves. If your foundation looks patchy, your blush looks muddy, or your skin has been breaking out without explanation, wash your brushes tonight. The improvement is usually visible within a week.
